

Over time, I’ve developed a simple method for handling a Git-based Unreal Engine source. In this method, the source is mirrored into a Perforce workspace. Epic Pro customers have access to Epic’s perforce-controlled version of Unreal Engine. Still, I’ve found that I prefer working with the source in this way. This has been tested in both studio and personal environments and has proven rather robust in solving the upgrade problem. It also fully supports The Epic Way!
It’s not for everyone, but here’s a general rundown of the setup and upgrading.
As of March 2026, I’ve had this post in a draft form for well over a year and a half. As I come back to just pushing it out, noticeably not much has changed with the setup.
Assumptions
- You have already created a depot in Perforce. You have also set up streams (optional) and have decided on your depot layout.
- You have created a local workspace for your Perforce depot/stream.
- Your familiar with Epic’s documentation around using Perforce as a source control.
- You have Beyond Compare. It’s not entirely necessary. Nevertheless, you will have to substitute in functional equivalents in the mirroring process.
- I’m not going to deal with how to layout your project or workspace. This is outside of the immediate needs of handling the Unreal Engine source code task. This is being used in a composited-stream.
- I have tested this format with the Engine source in a unique folder in the workspace. I don’t suggest it. It makes the number of changes exponential as you start using different parts of the engine, like Horde.
//UE5/DETHOLis my Perforce server’s depot/stream.
Getting Started
Git Fork
The first step is to fork a branch from the Unreal Engine source code. I typically am using the release in a studio environment, but will use ue5-main for personal projects.
It is easiest to use a fresh clone. This approach ensures we get the minimal amount of files that need to be mirrored into the Perforce depot.
Your cloned repository should be placed somewhere outside of where you plan on building your P4 workspace. It will be handy to keep around later, but not necessary.
git clone https://github.com/dotBunny/UnrealEngine.git D:\Repositories\dotBunny\UnrealEngine
Typemap Definition
Now is a good time to make sure your Perforce depot’s typemap is set up appropriately. Check this before we start adding content. Here is a starter definition specifically for Unreal Engine.
TypeMap: binary+w //....exe binary+w //....dll binary+w //....exp binary+w //....lib binary+w //....app binary+w //....dylib binary+w //....stub binary+w //....ipa binary //....bmp binary //....rc text //....ini text //....config text //....cpp text //....h text //....c text //....cc text //....cs text //....m text //....mm text //....py text //....html text //....dart text //....LICENSE text //....md text //....txt text //....json text //....pem text //....transform text //....xml text+x //....sh text+x //....command text+w //....exe.config text+w //....dll.config binary+l //....uasset binary+l //....umap binary+l //....upk binary+l //....udk binary+l //....ubulk
You’ll need to be a Perforce admin to issue the p4 typemap command locally to edit the applicable typemap.
Git Dependencies
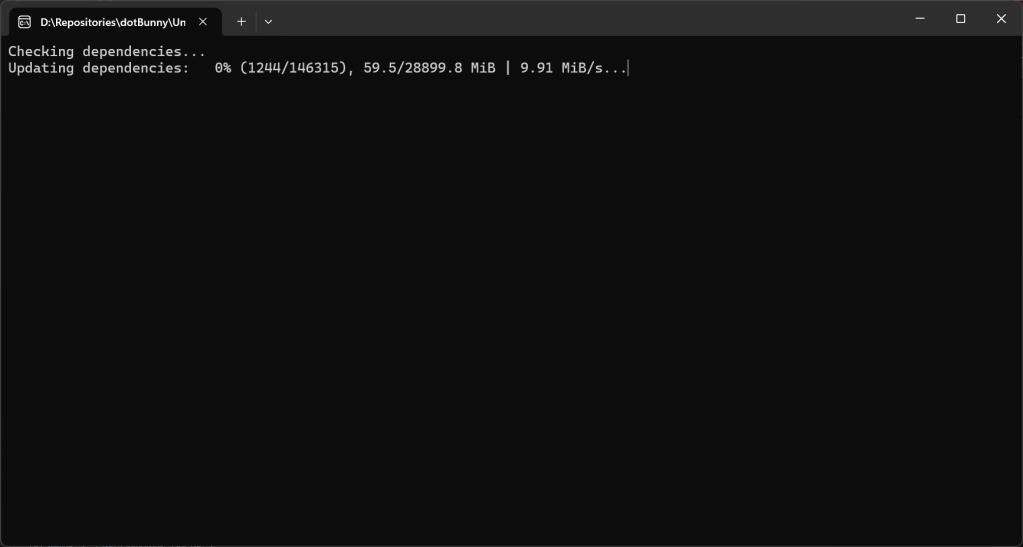
It’s time to get those things that aren’t brought down when you clone the Unreal Engine repository, mostly third-party libraries. This can be done by running:
Engine/Binaries/DotNET/GitDependencies/win-x64/GitDependencies.exe
Setting Up The Mirror
This process is built around utilizing Beyond Compare to mirror the repository into your workspace, with a set of rules. Setting up this workflow now is important as it will be used for upgrades as well.
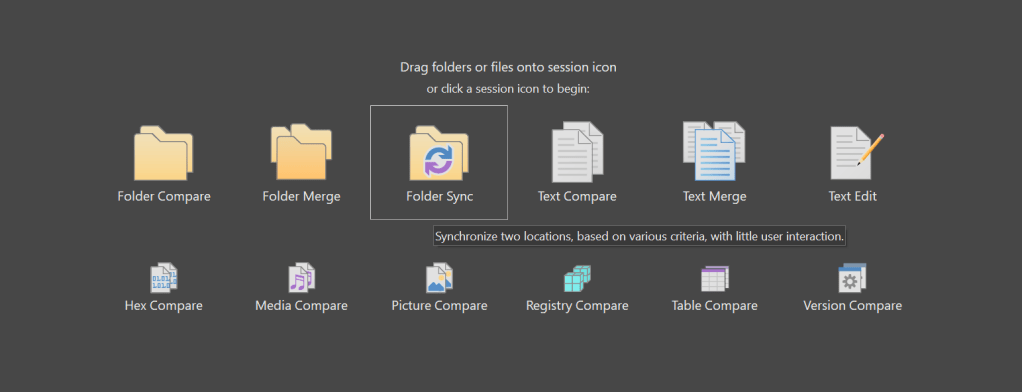
New Session
If you haven’t already setup a session for mirroring the source code, lets remedy that right now.


Filters
The next step is to add in the filters. These filters are used to ignore specific files and folders. We do not want to remove these in the workspace when we do our syncs.
-.\Default.uprojectdirs;-.\.vsconfig;-.\.p4config;-.\UE5.sln;-.\p4.log;-.\.p4ignore;-.p4passwd;-.\.git\;-.\.ugs\;-.\.vscode\;-.\.vs\;-.\Staging\;-.\Projects\;-.\K9\
| Item | Description |
|---|---|
.\Default.uprojectdirs | We want to keep the project definitions in the workspace. |
.\vsconfig | No need to replace this IDE config file. |
.\.p4config | Often used to store local Perforce workspace credentials/definitions. |
.\UE5.sln | This gets generated automatically later, ignored for good measure. |
.\p4.log | This is the log file our perforce commands are going to pipe too, so leave it alone. |
.\.p4ignore | This is the P4IGNORE that I typically use. |
.\.p4passwd | This is the P4PASSWD file I often use. |
.\.git\ | We don’t want to sync the Git related files. |
.\.ugs\ | No need to wipe out any existing UnrealGameSync settings. |
.\.vscode\ | Leave the VSCode settings alone. |
.\.vs\ | Leave the Visual Studio settings alone. |
.\Staging\ | This is a folder for staging a lot of our build related things. I usually leave it untouched. |
.\Projects\ | This is where your Unreal Projects are going to be stored. We don’t want to sync them against the Git repository. I made this choice to keep things organized. This avoids project folders living at the root (but requires using Default.uprojectdirs). |
.\K9\ | This is where the K9 utilities get cloned automatically. |
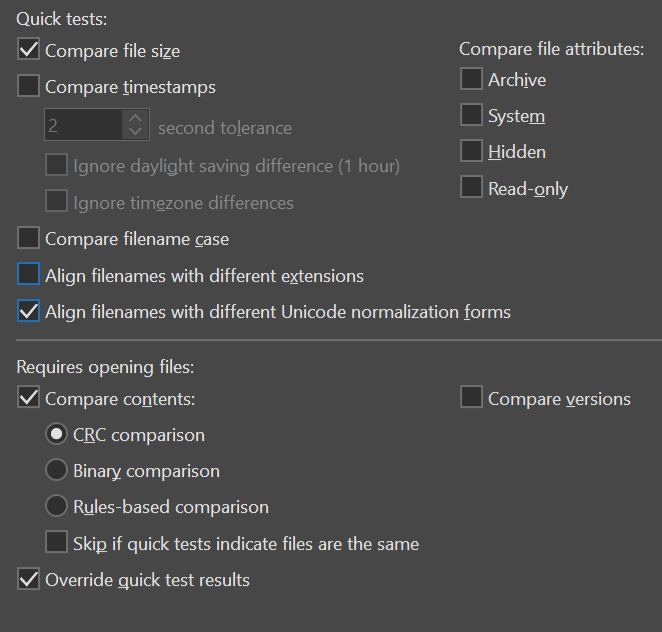
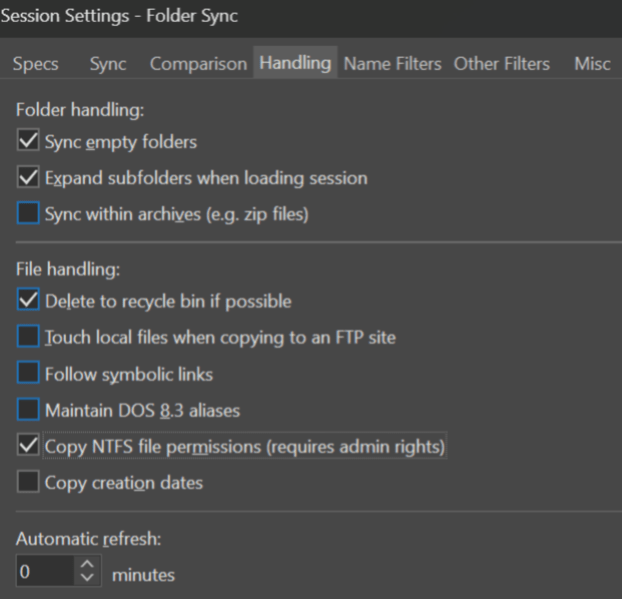
Rules

There’s a little button sitting between Operations and Filters that looks like a referee. You can click it to open the session settings. But, there are other ways to get there.
Copy Time
Once you have completed all this setup, you can now hit the Auto Sync button. Let Beyond Compare do its thing.

To build muscle memory, I let Beyond Compare copy the files into the empty workspace using the sync method. This is the same mechanism that will be used to upgrade the workspace in the future.
First Reconcile
The repository must be synced over to the workspace first. After this, we need to reconcile the entire workspace. This process will add these files to Perforce. I strongly suggest creating a changelist ahead of time that you can target with the next command:
p4 reconcile -eadfm -c <CHANGELIST> d:\Workspaces\dotBunny\DETHOL\... > p4.log
You can watch the p4.log file to see the status of the reconcile. Once it is done, you should have a changelist. You can commit this changelist with your first engine add.
Often, I will split the reconcile into multiple commits. I organize them based on folder structure. This makes it a little more manageable.
Gotchas
Here are a few things that always seem to be on the lookout for!
.uedependencies
Often this file is not seen and/or skipped when reconciling using P4V. It can be manually reconciled via command-line or if you have hidden files shown you can do it from P4V.
Engine\Source\Programs\Horde\Scripts\tests.sh
This file needs to be handled with care. It gets used when bundling the Horde server to run tests within Docker. Thus, it requires having its unix-based line endings (LF) preserved. Turn its FileType to binary. Opening and saving the file in something like VSCode with LF set as the line endings.
Reconciling Issues
You may notice in your logs some messages like these:
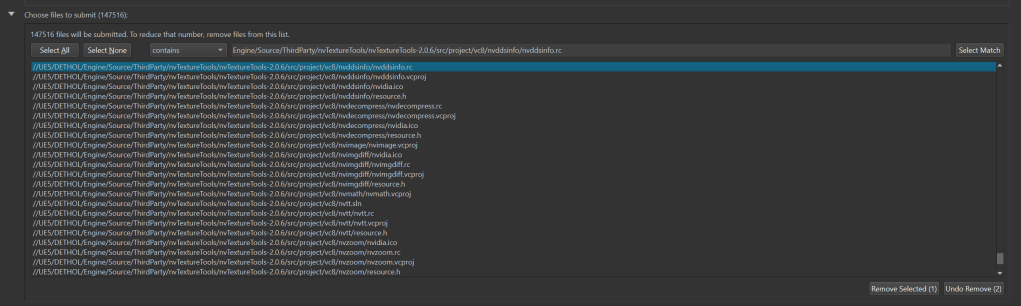
Translation of file content failed near line 1 file D:\Workspaces\dotBunny\DETHOL\Engine\Source\ThirdParty\nvTextureTools\nvTextureTools-2.0.6\src\project\vc8\nvassemble\nvassemble.rcTranslation of file content failed near line 1 file D:\Workspaces\dotBunny\DETHOL\Engine\Source\ThirdParty\nvTextureTools\nvTextureTools-2.0.6\src\project\vc8\nvcompress\nvcompress.rcTranslation of file content failed near line 1 file D:\Workspaces\dotBunny\DETHOL\Engine\Source\ThirdParty\nvTextureTools\nvTextureTools-2.0.6\src\project\vc8\nvddsinfo\nvddsinfo.rcTranslation of file content failed near line 1 file D:\Workspaces\dotBunny\DETHOL\Engine\Source\ThirdParty\nvTextureTools\nvTextureTools-2.0.6\src\project\vc8\nvdecompress\nvdecompress.rcTranslation of file content failed near line 1 file D:\Workspaces\dotBunny\DETHOL\Engine\Source\ThirdParty\nvTextureTools\nvTextureTools-2.0.6\src\project\vc8\nvimgdiff\nvimgdiff.rcTranslation of file content failed near line 1 file D:\Workspaces\dotBunny\DETHOL\Engine\Source\ThirdParty\nvTextureTools\nvTextureTools-2.0.6\src\project\vc8\nvzoom\nvzoom.rc
This is caused when your local Perforce can’t decide the proper file type / encoding character set. This is a common thing to pop up in non-unicode perforce servers and needs to be properly dealt with. It can also happen despite what you may hint at with your Typemap. The quick-and-dirty solution to this to flag the files individually as binary and submit them that way to Perforce.
You can search and remove the files in the submit window.

Build Baby Build!
Now its up to you to build/make your project!
Divergences
To manage future upgrades, it’s important to markup your changes to the source clearly. This allows them to be easily found and reasoned about.
I’ve long since debated if the changes should be pushed back to the private-fork of the Unreal Engine source. So far, I have kept modifications inside of Perforce-only. The benefits will become obvious when having to merge an upgrade.
I use a format like this when making surgical changes:
public override string GetPlatformPakCommandLine(ProjectParams Params, DeploymentContext SC){ // #DIVERGENCE-START matthew.davey #STEAM // Steamworks recommended alignment for optimal patching // https://partner.steamgames.com/doc/sdk/uploading //string PakParams = " -patchpaddingalign=2048"; string PakParams = " -patchpaddingalign=1048576 -blocksize=1048576"; // #DIVERGENCE-END matthew.davey #STEAM
For rather large developments, I prefer to make them a plugin. This allows them to live in the projects themselves while strictly keeping the source changes minimal. There is not too much you can’t do as a plugin with enough creativity.

I keep all our source modifications in Perforce. I do not push them to the Git fork. If you choose to push changes to Git, your divergence resolution step will change. It will move from when you mirror over to the workspace, to when you sync your remote fork.
Upgrading Unreal Engine
This is the part where I hear the most complaints about working with the Unreal Engine; the dreaded upgrade. I have done complicated upgrades in both Unreal Engine and Unity. They both have their challenges, but much of the complication comes down to your preparation. It also depends on your ability to understand the code and reason about changes.
Let’s start with some preparation.
Sync Remote Fork
Assuming you have a private-fork of Epic’s UnrealEngine repository; first you must sync your local fork to the upstream. The fancy “Sync fork” button will help you navigate those waters on GitHub.
If you keep your changes to the source in Perforce, this step will be a simple button click. If you push changes to your Git fork, you will need to resolve things locally.
Clean Local Repository
If you didn’t keep the local clone from the first creation of the workspace, don’t worry. You can just checkout a new clone.
As we are going to use the mirror-sync inside Beyond Compare. We want to make sure the left-hand side source is as clean as possible. This ensures we don’t have any extra files hanging around.
First, we want to clean all of the existing downloaded third-party assets. We also need to remove anything that was generated earlier.
From the local UnrealEngine repository, D:\Repositories\dotBunny\UnrealEngine:
git clean -dfx
Update Local Repository
At this point your local repository of the Unreal Engine source code should be pristine. There should be no extra files outside of what is found in the repository. It is ready for an upgrade. That is unless you just checked out a fresh clone.
git pull --rebase=true origin --prune
As Branislav points out, you should use
rebaseto keep a clean history of changes.
Refresh Git Dependencies
As with the first setup, we aim to grab the latest dependencies. Use the console application found in the repository to do this.
Engine/Binaries/DotNET/GitDependencies/win-x64/GitDependencies.exe
Mirror Changes
Now, hopefully you get to benefit from the fruits of your earlier labor. If everything was set up correctly, open Beyond Compare. Then, select the existing session where you set up the mirroring.

You just need to wait for the application to finish finding all of the differences. In the header the “Stop” button will stop flashing. This process can take a while.
When you are ready, press the “Auto Sync” button and watch everything get moved over to the right-hand side. You will encounter a few dialogs. They will ask if you wish to overwrite read-only files because they are read-only in your Perforce workspace. I respond “Yes-to-All” to these.
This mirror will wipe out any of your changes to the Unreal Engine source. This is why I keep a shelf of the divergences. I will reapply them after this step.
Build Changelists
Just like during the initial setup, you are going to want to pre-make a changelist to target reconciling towards. You can make multiple for each major folder, or use one monolithic changelist. It’s entirely up to you!
I choose to split the reconciling across different commands. I base this split on top-level folders. You really can do this however you want.
p4 reconcile -eadfm -c <CL> d:\Workspaces\dotBunny\DETHOL\Engine\... > p4.log p4 reconcile -eadfm -c <CL> d:\Workspaces\dotBunny\DETHOL\FeaturePacks\... > p4.log p4 reconcile -eadfm -c <CL> d:\Workspaces\dotBunny\DETHOL\Samples\... > p4.log p4 reconcile -eadfm -c <CL> d:\Workspaces\dotBunny\DETHOL\Templates\... > p4.logp4 reconcile -eadfm -c <CL> d:\Workspaces\dotBunny\DETHOL\.uedependencies > p4.log
Restoring Divergences
This is where that shelf of divergences is important. The earlier mirroring process overwrites everything. If you don’t have the divergence shelf, you must pay significantly more attention during the mirror. You need to find files that have been marked up with #DIVERGENCE instead of this post-processing.
Assuming you have the shelf, you now have a list of files. You can diff the workspace version with what is shelved. This lets you reason about and apply changes. I can’t specifically guide you on how to do this efficiently. I just treat it like a normal merge diff.
Once you’ve finished resolving the divergences and made your local tests. It is incredibly important to then update the divergences shelf
Testing Locally
Every project will have its own validation requirements and / or process. This is the time to go and check to ensure everything still works. Alternatively, verify that it is in a good-enough state to commit the upgrade without blocking others.
Make builds and test different types of packaged builds on your given platforms. Do this before going any further.
Serialize Assets
You probably won’t need to re-serialize all your assets right away (famous last words).
It’s the best practice to do so eventually. I make sure things work locally in editor and in packaged builds. I then coordinate with my team on the next steps. We must decide when to take that time hit, which occurs when everyone has to download all the content changes.
You can commit your upgrade changes to perforce before doing the content re-save. This approach lets you coordinate a later date and time for the content change.
The most efficient route to re-serializing assets comes from executing a commandlet provided with Unreal Engine:
UnrealEngine-Cmd.exe d:\Workspaces\dotBunny\DETHOL\Projects\DETHOL\DETHOL.uproject -run=ResavePackages -OnlySaveDirtyPackages
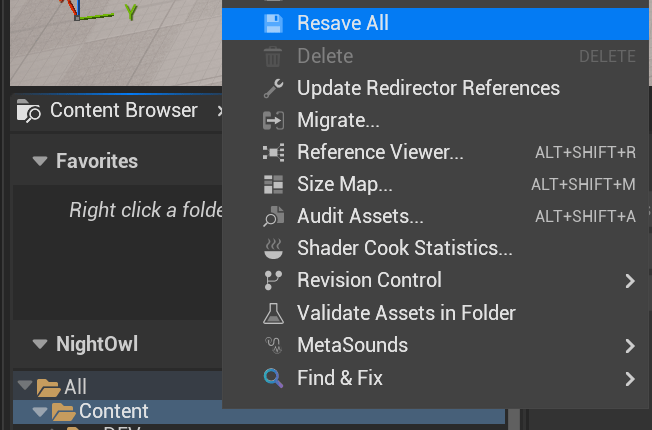
Or you can take the hit-everything graphical approach of doing it in the editor:
Submitting To Perforce
Ensure you are content and prepared to accept the risk involved. Then, make the commit via your shell. P4V is slower.
p4 submit -c <CL> --parallel=threads=5
Extras
.p4ignore / .p4config
K9.Workspace.Setup is included with K9. As part of setting up the workspace, it configures the local p4 setup. This process ensures that it matches my expected naming.
# Top level ignores.p4config.p4passwdp4.log# Ignore UE source changes/UE5.sln/**/Intermediate//**/obj//**/Saved//Engine/DerivedDataCache//Engine/Programs/MemoryProfiler2//Engine/Programs/UnrealBuildTool//Engine/Saved//LocalBuilds//Staging//Logs//ToolComplete.txt# K9 Toolingk9.tmpK9_BUILD_SHAK9_WORKSPACEK9_SETTINGS/K9/Source//K9/Binaries/# Installed build editor projects/Projects/**/*.sln/Projects/**/DerivedDataCache//Projects/**/Intermediate//Projects/**/Saved//Projects/**/Binaries//Projects/**/Build/**/*.log/Projects/**/Build/**/pakchunklayers.txt# Ignore Installed UGS.ugs/# Ignore IDE related foldersobj/.idea/.vs/.vsconfig.vscode/.cache/cmake-build-debug/*.sublime-workspace# Rider Shared Settings!.idea/.idea.UE5/.idea/fileColors.xml!.idea/.idea.UE5/.idea/vcs.xml!.idea/.idea.UE5/.idea/encodings.xml!.idea/.idea.UE5/.idea/icon.svg!.idea/.idea.UE5/.idea/codeStyles/codeStyleConfig.xml# Custom Rider Scopes!.idea/.idea.UE5/.idea/scopes/Engine.xml!.idea/.idea.UE5/.idea/scopes/Extras.xml!.idea/.idea.UE5/.idea/scopes/dotBunny.xml!.idea/.idea.UE5/.idea/scopes/DETHOL.xml!.idea/.idea.UE5/.idea/scopes/NEXUS.xml# Platform-specific files.DS_Storedesktop.ini# EOS DevAuthTool/Projects/**/EOS-SDK**/Tools/DevAuthTool# Prevent Git Inside Projects/Projects/**/.git
Fixing Unicode Types
If your Perforce server has Unicode enabled you are going to have a world of fun. Once it has been turned on, it cannot be turned off. If you are making that decision, please ensure you have a reason for it.
K9.Unreal.PerforceTypes is a tool that is part of K9. It will carry out a deep check of all files in the workspace. It automatically builds out the changelist with the updated types. Use it instead of what’s next!
There is a command which will look at the workspace and find all of the generic Unicode type files and output their path to a file:
p4 fstat -F "headType=unicode" -T clientFile //UE5/DETHOL/... > unicode.txt
You then can take the generated unicode.txt file, open it and replaces the insides to that each line looks something like:
p4 edit -t text -c <CL> "D:\Workspaces\dotBunny\DETHOL\Engine\Source\ThirdParty\ShaderConductor\ShaderConductor\External\SPIRV-Tools\utils\vscode\src\lsp\protocol\tsprotocol.go"
Each line has been prefixed with the edit command, and the path has been surrounded in quotes. Now you can copy the entire text file. Then, paste it into your shell. This will execute all of the lines as individual commands.
P4V Settings
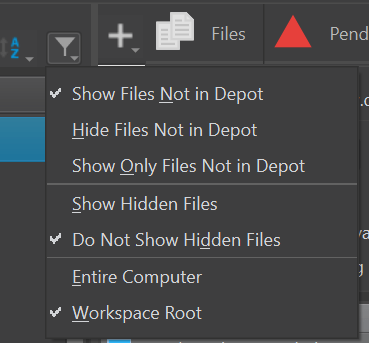
It’s quite handy to make sure you check the Show Hidden Files toggle in the Workspace explorer tab’s filter.
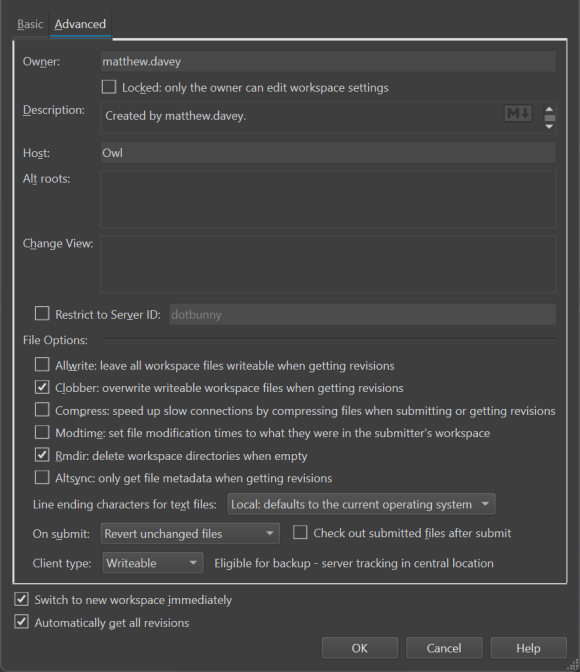
Workspace Settings
Default.uprojectdirs
UnrealBuildTool attempts to generate the solution/project files based on its built-in search rules. By adding a Default.uprojectdirs file to your depot root, you can extend the search area. In my case, this ensures that my Projects folder is looked at.
; These folders will be searched 1 level deep in order to find projects; UnrealBuildTool will store the following information:; - Project name; - Location of project; - Whether it has code or not; - TargetNames contains at the project location;;./;Engine/Source/;Engine/Programs/Projects/
