

Optimization at a kernel level can cascade through an entire operating system and through its reuse can save thousands if not hundreds of thousands of dollars of unnecessary costs over the lifetime of a service contract. Let’s put some rough numbers into play. As of the date of writing this article, deploying 100 Amazon’s EC2 micro instances running at 100% use for a month would cost $1464 USD (transit excluded). Dropping the use down slightly, to something in the 80% range immediately saves $292 USD a month. Imagine the savings if you could cut down the number of instances required by decreasing the overall load.
This article was created around a college level assignment/lab where students were building a Linux kernel from source. At the time of creating the lab, Ubuntu 17.04 was the latest. I’m not super fond of using Ubuntu, but for this assignment it was more about the experience then the specific platform. The lab is available at the end of the article as well as other material related to the delivery of the content to students.
Prerequisites
- Installed and configured Linux based operating system. For the lab, I provided students with a virtual image of a Ubuntu 17.04 server with a few upgrades. Please refer to the lab itself for login credentials if you are using the provided image.
- Enough available space to download and compile the latest kernel. Try to make sure you have around 25GB of free space before you start this process. Dealing with running out of disk space is one of the hidden challenges of the lab. You can plan ahead. If you are using the provided image you will need to handle the disk space limitation yourself.
Quick Note
These commands are known to work with Ubuntu and many other similar distributions. Please confirm what is appropriate for your distribution. This information assumes that you are a user who is part of the root wheel group or has been granted access to the sudo command.
Step 1 – Setting Up Your Environment
Depending on the state of your system you will need to grab a few things before you really begin, and of course, make sure you are working with the latest and greatest. To get the party started, you should tell apt-get to grab any updates to its package lists:
sudo apt-get updateFollowed up with the direction to upgrade any of its installed packages:
sudo apt-get upgradeFinishing off the upgrade chain, tell apt-get to upgrade your distribution as well:
sudo apt-get dist-upgradeThese are commands that you could be running more often, but be careful with blindly updating services without having some sort of unit test system in place to know if upgrades break anything. The last step in setting up your environment is to grab any of the packages you will need to compile the kernel. In the case of the provided Ubuntu image, some of these packages were already downloaded, but there is no harm and reissuing the command.
sudo apt-get install build-essential libncurses5-dev git bc libssl-devStep 2 – Getting The Source
In the environment setup step above you installed a distributed content repository system, git. If you are unfamiliar with it, spend some time reading up on what it is, and its limitations. Getting the source code to your kernel is most likely not going to look exactly the same as the command below. You will need to find out the most appropriate means of acquiring the source, and from where. In the case of Ubuntu, they make their kernel’s source code available publicly via a git repository.
git clone --depth 1 --branch master git://kernel.ubuntu.com/ubuntu/ubuntu-zesty.git kernelBreaking down the above git command, it is being instructed to clone a repository, but only the top-level of the master branch, as there is no sense getting any of the history from the repository when we are simply just compiling it for ourselves. The git:// protocol URI is an important detail in the command as when you use the git protocol URI you are able to specify the depth to download. The last part of the command overrides the name of the folder which the repository will be downloaded too.

This process should take less than 5 minutes assuming you get to use the git protocol version. The git protocol requires specific ports to be open. If your current network arrangement has them blocked, you will see timeouts occur. The fallback is to use the HTTP method (the same command just swap the URL for a HTTP/HTTPS git repository address). You will also not be able to set a depth with the HTTP method. Sadly, this backup method could take a long time.
Step 3 – kernel Configuration
To save yourself an incredible amount of time, it is recommended that you do not create a configuration from the ground up. Instead, copy your systems existing configuration and change it to your needs. Copying the existing configuration can be done by issuing the following command:
sudo cp /boot/config-`uname -r` .configThe uname part outputs the operating system name, with the added -r flag outputting the release information. In the above command, we use the outputted string to identify the appropriately named configuration file to copy over.
Step 4 – Upgrade The Config
Most likely the config you have copied was from an earlier version of the kernel and as such it will need to be upgraded to reflect the changes of the downloaded source code. Thankfully, there is an upgrade path, one command that saves the day:
sudo make oldconfigA quick interactive set of dialogues will appear on the screen. When in doubt, just hit enter. Your configuration will now be compliant with the kernel build process.
Step 5 – Interactive Menu Config

It’s at this point that we can all take a moment to be thankful that some ambitious developers years ago implemented a GUI frontend to the Linux kernel configuration process. Otherwise, you would be stuck text editing config files spending exponentially more time on this process. The menu has almost all the configuration settings of the kernel and the features to include in it. You will need to use the keyboard arrow keys to navigate around the options, using the left and right arrows to select to save, exit, etc.
sudo make menuconfigStep 6 – Build It
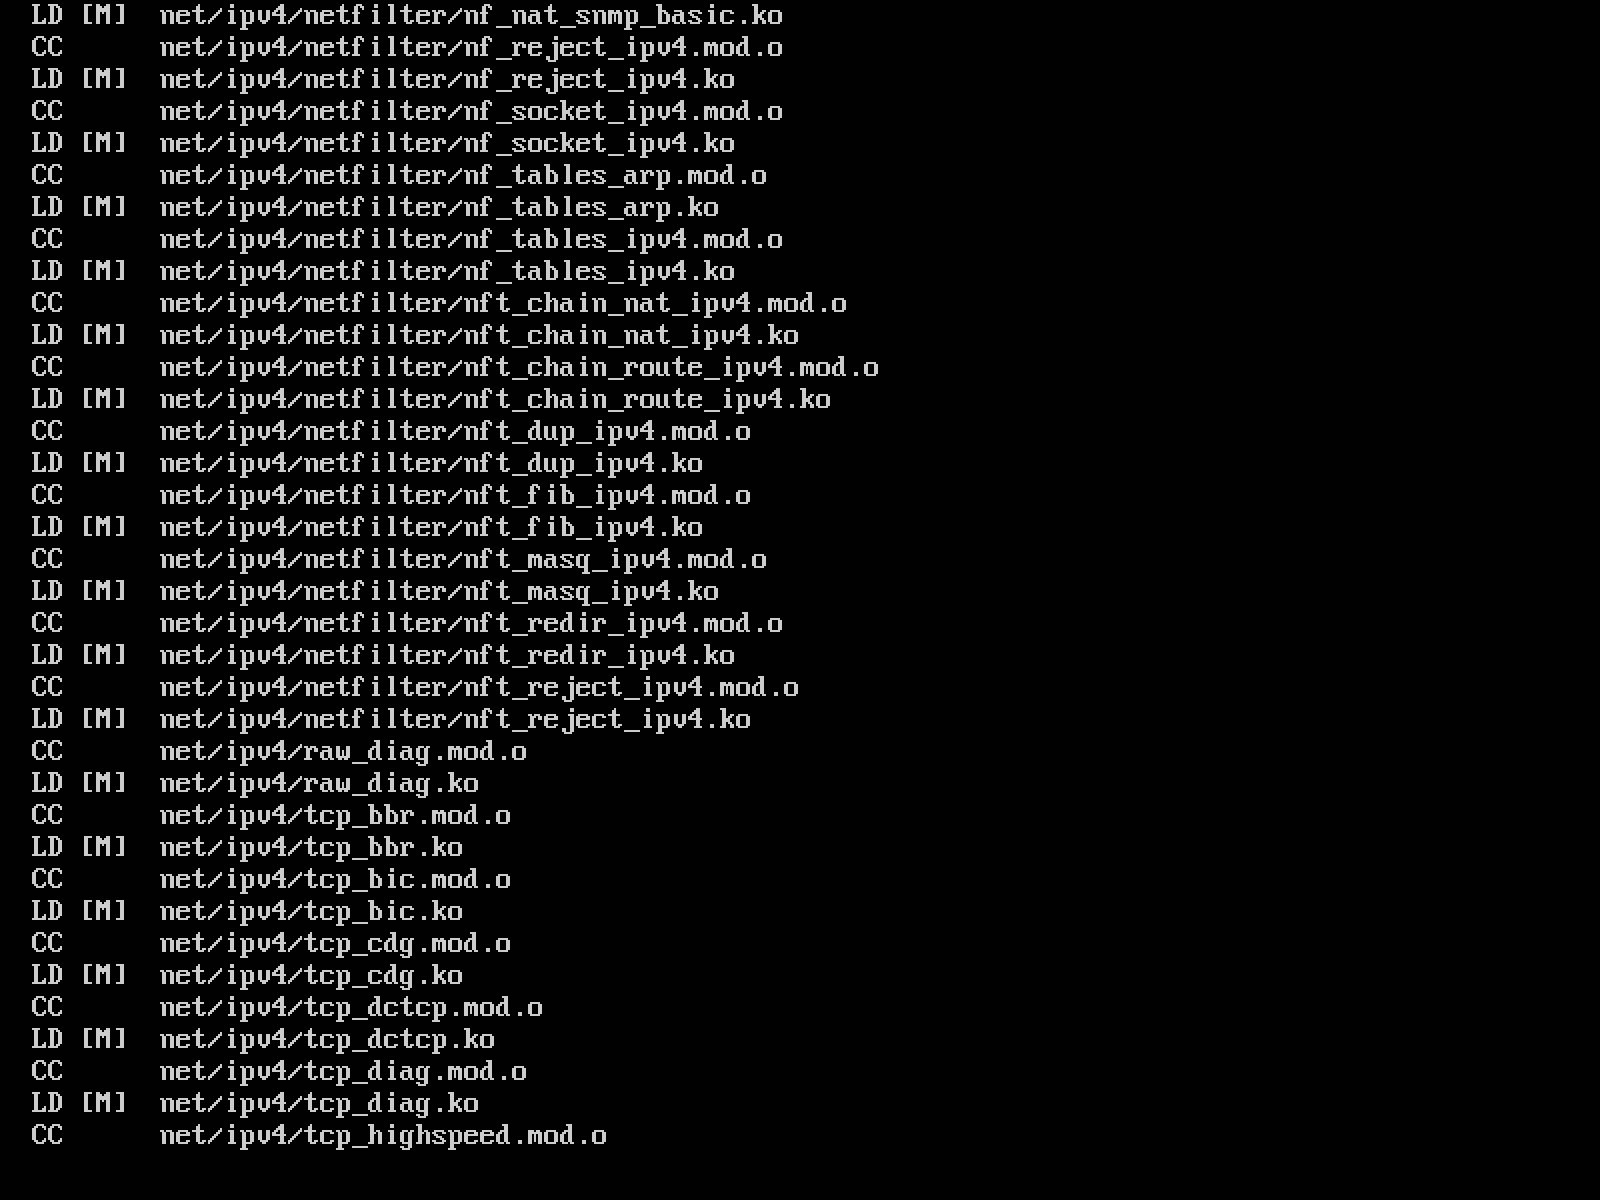
All that prep work comes down to this command. If everything works, it will look like the image below for a while. If you are working with a virtual machine, I would suggest increasing the CPU allocation temporarily to speed up this process.
sudo make -j `getconf _NPROCESSORS_ONLN` deb-pkg LOCALVERSION=-theforgottenkernelThe command breaks down into issuing the make command, with the -j argument (number of concurrent jobs) being fulfilled by a getconf variable. It then tells it to package it as a Debian package and finally appends “-theforgottenkernel” to the kernel version.
Step 7 – Ship It!
When you finally notice that it has finished compiling, the last step is to install the new kernel. Note that the packages are actually in the parent folder of the source code.
sudo dpkg –i *.deb
Once it is in place all you need to do is restart and cross your fingers.
Takeaway
As time passes by these steps may become out of date, the process should stay similar. With your proven build pipeline you can go back and further customize the kernel. Load your own modules, remove components that are not needed, etc.
